Every year I like to make my own cards. Since I stopped sending mass mailings {for which I’d buy charity cards} and just give cards to close friends, family, the man who cleans the building I live in, the neighbours I share it with, and the postlady {she’s so lovely!}, I like to DIM. {Do It Myself.}
You can see past cards I’ve made here, here and here. {Mostly shocking photos but I was not au fait with photo editing at that point! And let’s face it, I still have things to learn.}
I was feeling a bit dry on the ideas front so popped over to Pinterest and found this pin, which is aimed at kids but a} I kind of love that – let’s embrace play! and b} is easily adapted.
So here are my cards, step by step.
Supplies: watercolour paper, watercolours, jar of water, big soft brush, low tack masking tape, sticky stars, sea salt {optional}
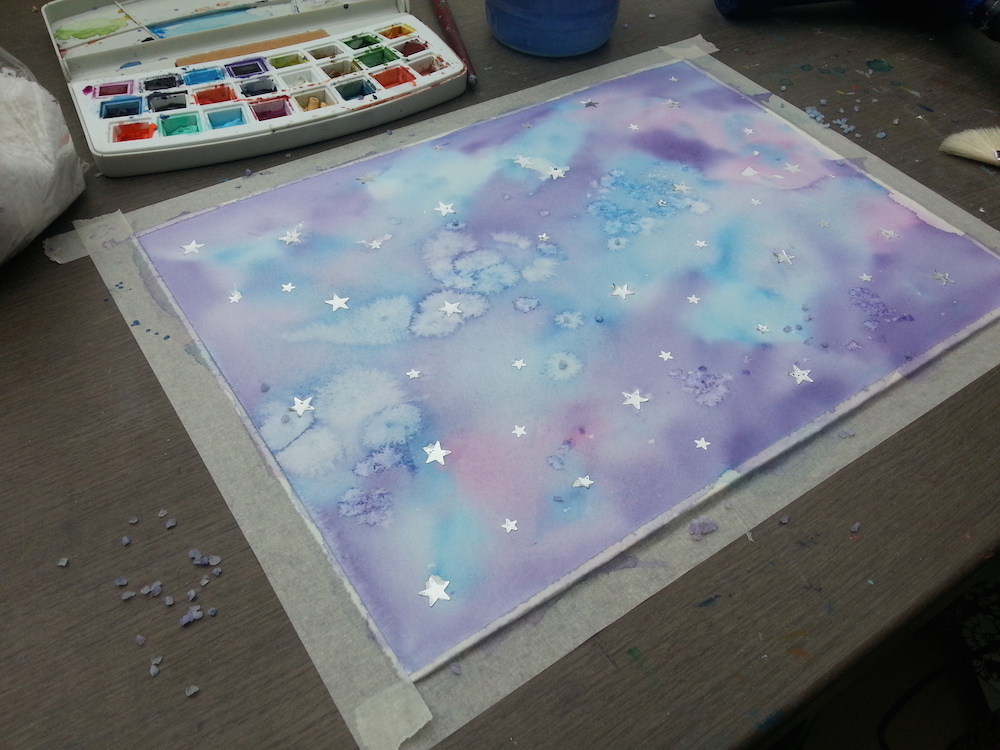
I taped down the paper and stuck most of the stars on right away.
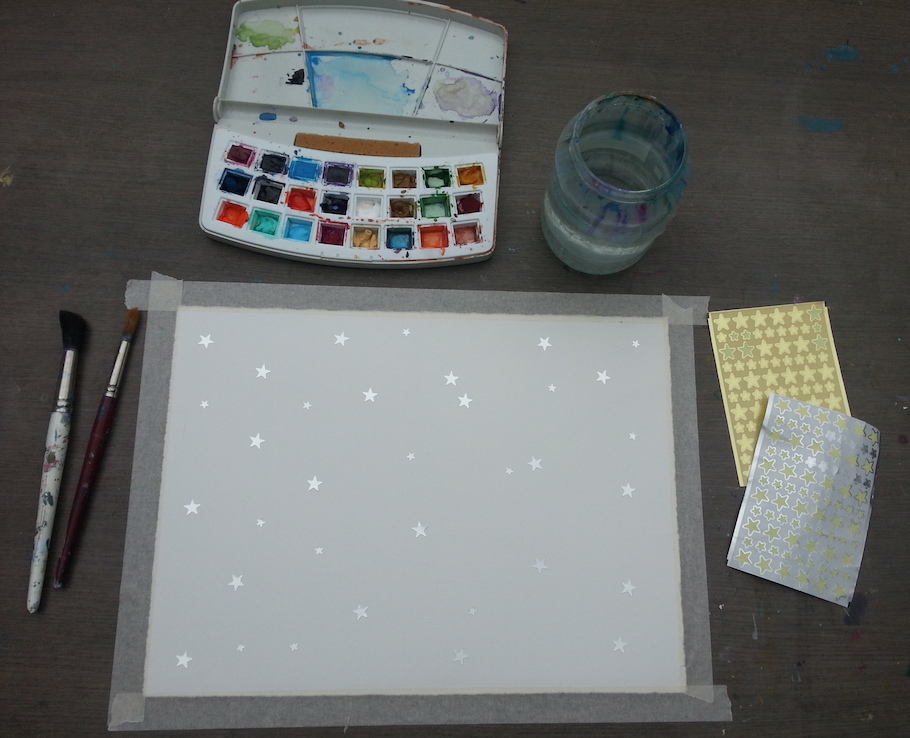
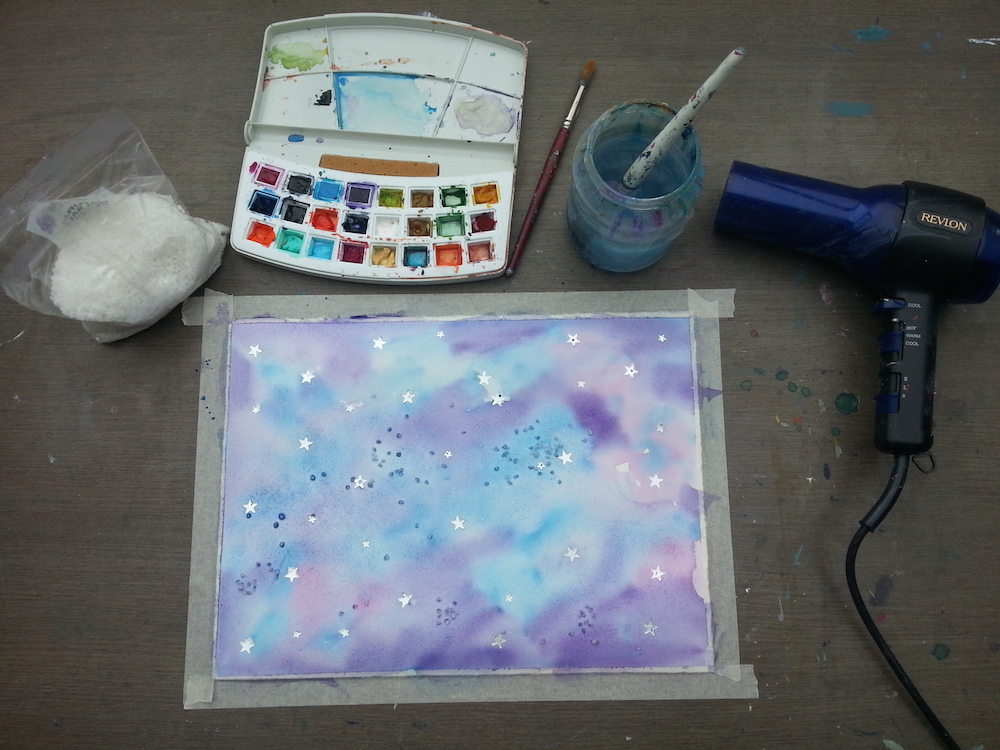
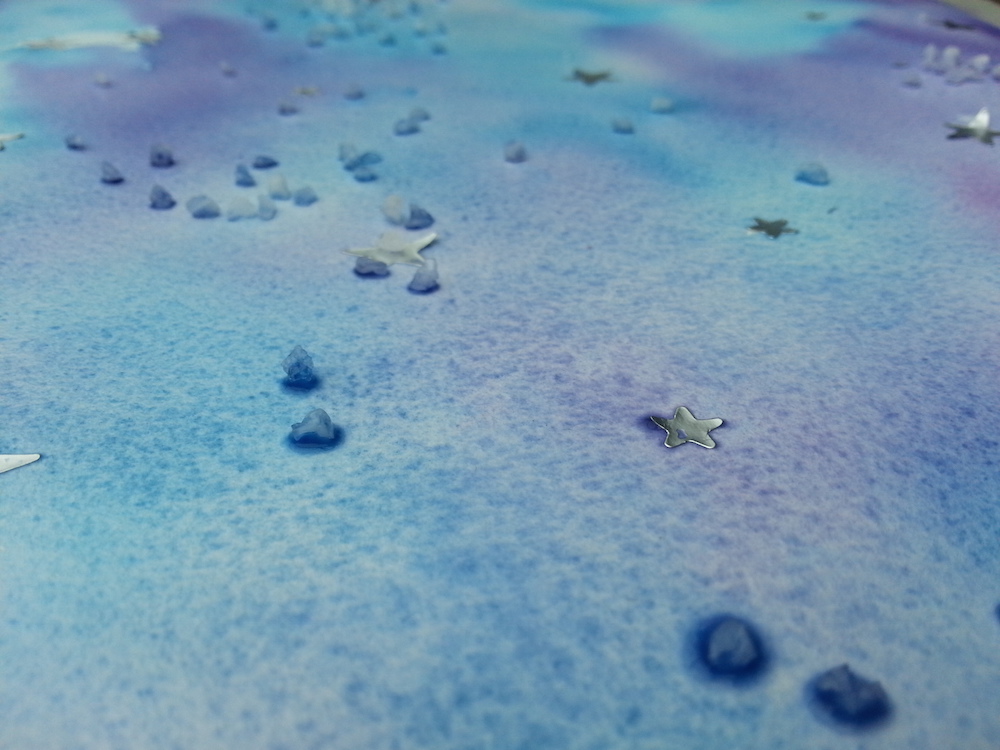
Then I made a first layer of watercolours, using pink, purple and dark blue. While it was wet I sprinkled some sea salt over it.
Went away and did some things, came back when it had more or less dried and removed the sea salt.
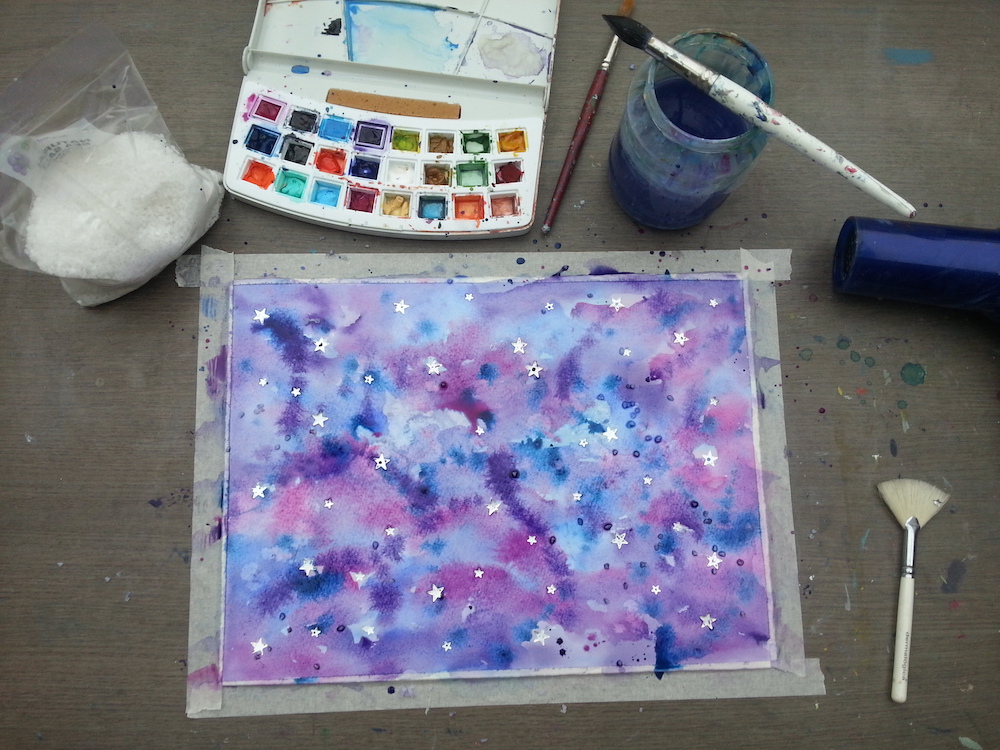
Then I added a few more small stars {the idea being that some are fainter so not all will have the white paper showing through – I had no idea if this would work but that is how we find stuff out} and more paint and salt.
Let that dry while I had some lunch {a chicken mayo and spinach wrap, if you’re wondering}, and then got locked out when taking out the recycling so they got an extra hour and a half to dry. 😉 I added another layer as it was all a bit faint, and left that to dry.
Then finally I peeled off the star stickers. They came off pretty easily if not all perfectly. The watery paint seeped under in a few places. I think if I’d used my tubes of watercolours rather than the pans it would’ve come out darker and not seeped; it’s a bit paler than I envisaged, but still pretty!
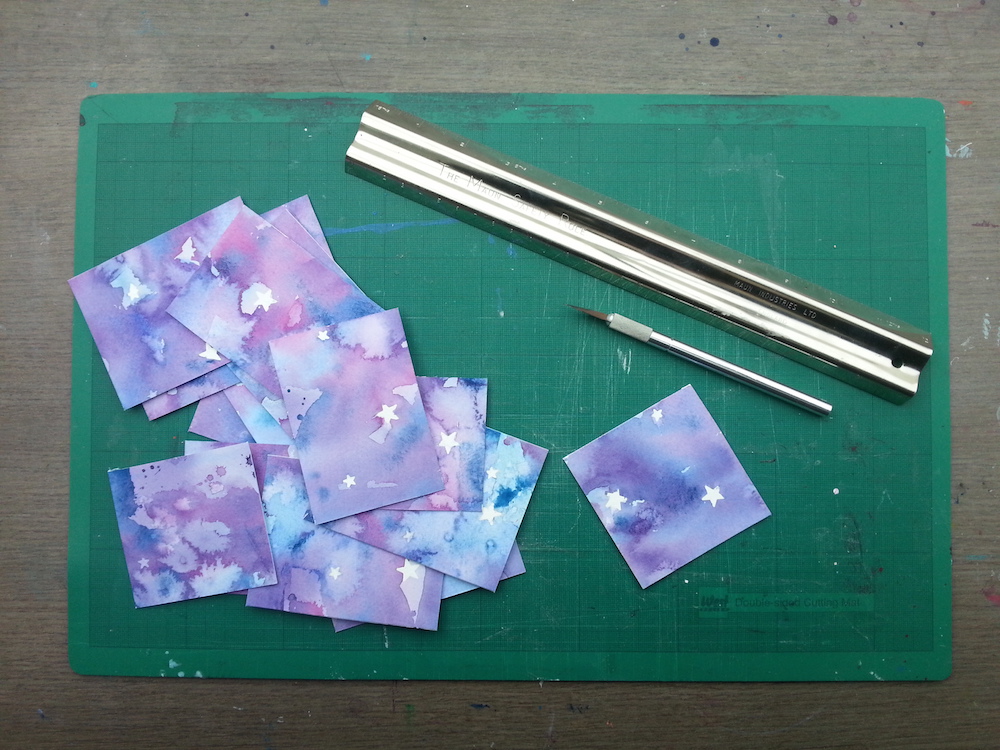
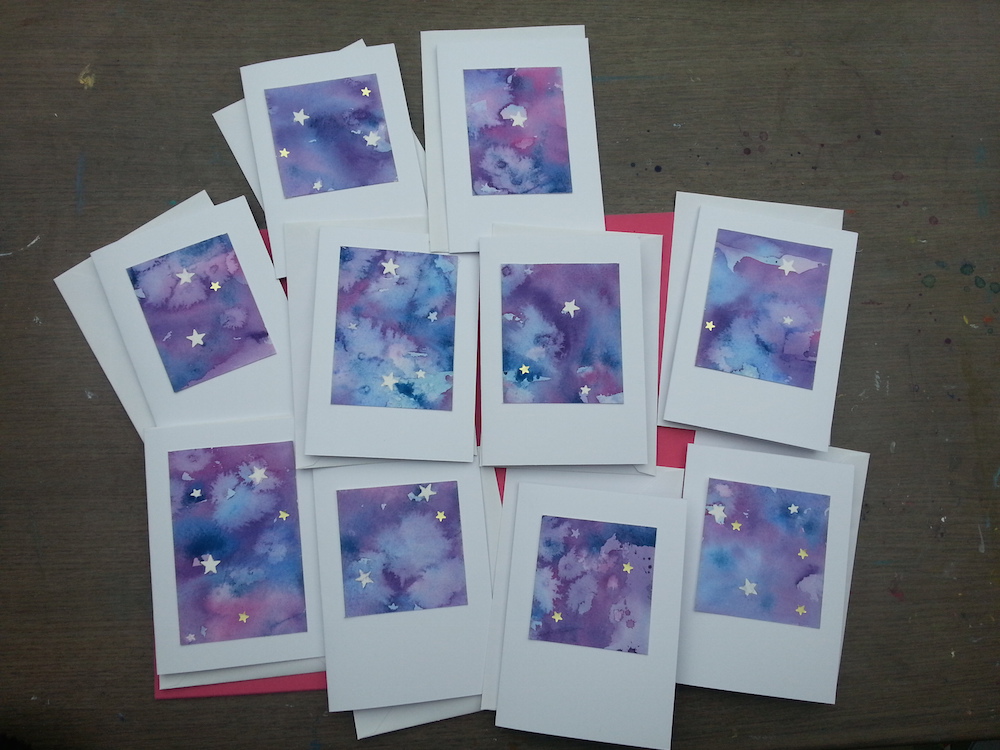
I always keep a stash of card blanks and envelopes handy, so the next step was simply to cut up my star painting, thus:
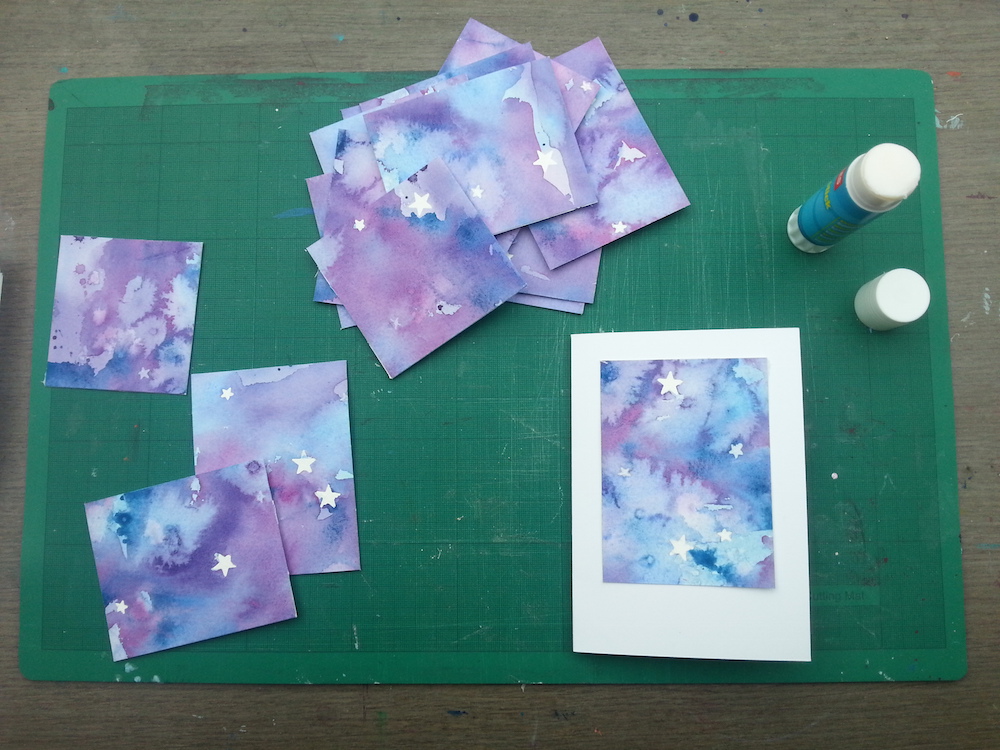
…and stick sections to the cards, thus:
I’m still pretty crap at photographing them, but never mind – the point is they are done, making them was fun, and I like them. Added some tiny gold stars to some of the ones that looked a bit starless.
Twinkle twinkle.
I also just rediscovered these posts I wrote last year with gift ideas, either to buy or to make yourself. Haven’t done much in the way of crafts this year but this does remind me how much I love to make things. I have a whole Pinterest board of things that look fun to make too; I think I’d like to do more making next year. {Not to mention the oracle cards that suddenly happened!}
Are you making Christmas cards this year? Or do you prefer to buy them? If you make them please feel free to share a link in the comments so we can be inspired!

Hi Tara:
Thank you for sharing this lovely technique of making Christmas cards…WOW!
I am attempting to paint a painting for my new granddaughter and I was in a quandary about how do the sky with stars and then today I saw your page.
What a great idea.
I love your site and your philosophy of our own creative selves. You hit it right on when you said you had taken so many courses and come away kinda confused with paintings trying to be like those of the instructors. I know that so well. I am still trying to be my own artist so now I just paint.
I would like to read more of your website.
Gratefully, Linda
Hi Linda – so happy to hear it was helpful and inspiring to you! You are very welcome here. 🙂
I so love your night sky cards. They are fabulous. Will certainly try. Thank you.
Ah thank you! I’m so glad they’ve inspired you Judith.
Tara, once again I am reading your blog, smiling and thinking of the wonderful phrase “kindred spirits.” Last month (without knowing about your Christmas cards) I was also looking for some inspiration and found the watercolor starry sky project online. I love adapting “kids'”projects for adults. I’ve made a bunch of them as little gifts for hospital patients (I work in the healing arts department) and had the delightful chance to teach a patient and his wife how to create their own while he recovered in the intensive care unit (art heals!) thank you for being a huge inspiration in my creative life in 2015. I look forward to using your creative planner – exactly what I need!! Happy New Year to a kindred spirit !
Ah that’s lovely Alison! How funny that we both landed on the same project. I love what you did with your discovery! Sounds like amazing work you do. Happy creative 2016 to you!
awsome, very nice, do come visit my blog to i make watercolour to maybe you like
Thank-You…was alot of fun ..so appreciate you sharing!
So glad you enjoyed it Bonnie!
Thanks, Tara. I always enjoy your posts and appreciate your willingness to share.
I paint (watercolor) 20 cards each year-a different design each year. I start in June/July as each one is an original mini-painting-something that says “Florida” since that’s home. Family and friends who receive one know they are very special to me. One friend has matted and framed each one (10 as of 2017) and they are included in her Christmas decorations! Truly a labor of love for me.
Happy holidays to you!
Wow that sounds amazing Marilyn – a labour of love indeed! How lovely for the recipients – can imagine a collection would look amazing!
I think I’m going to have a go! They look so pretty. I’ve actually sent most of my cards already, but there are still a few to do. And I can save some for next year! You’ve also given me some ideas for cards at other times of the year.
Thank you so much
That’s so great Carolann – delighted it inspired you! And very true, you could make them for any time of year. Gotta love a multitasking project. 🙂
Really helpful! Super approachable way of writing, makes it so much easier to understand if you know what I mean? Simple supplies and very easy to follow. I’m a budding artist and like to do my own cards etc for cousins and siblings, watercolour my favourite medium. Thanks loads brightened a lazy Saturday!
So glad it was helpful Rob!
Hi! I would love to make those too, they look great! What kind of sticky stars did you but? I’m afraid they’ll rip the paper when I take them off again..
They were just stickers I bought in a local stationery shop. If you don’t leave them on for too long {like days/weeks} they’re pretty easy to peel off. My tip is to do it slowly!