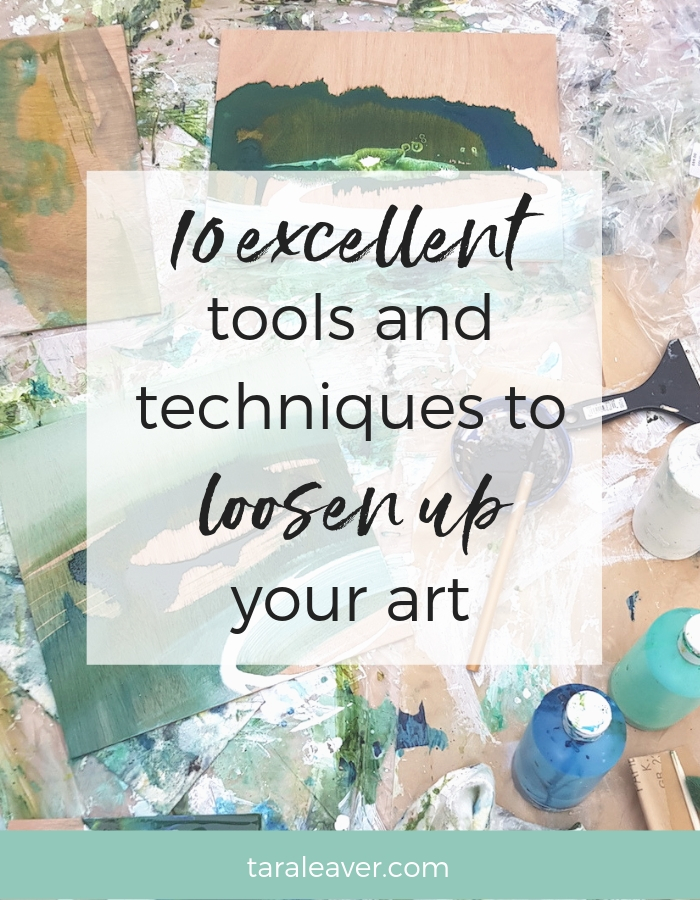
Are you always looking for tools and techniques to loosen up your art?
It’s a challenge so many of us struggle with, steeped as we are in habits that keep us tight and more realistic than we might like.
But it often isn’t as hard as you might think to actually do it.
None of the following tools and techniques involve rocket science, but trying even one today – perhaps on a painting that’s got too tight, or as a way of warming up in preparation for working freely – can be enough to shift you out of stuck and into flow.
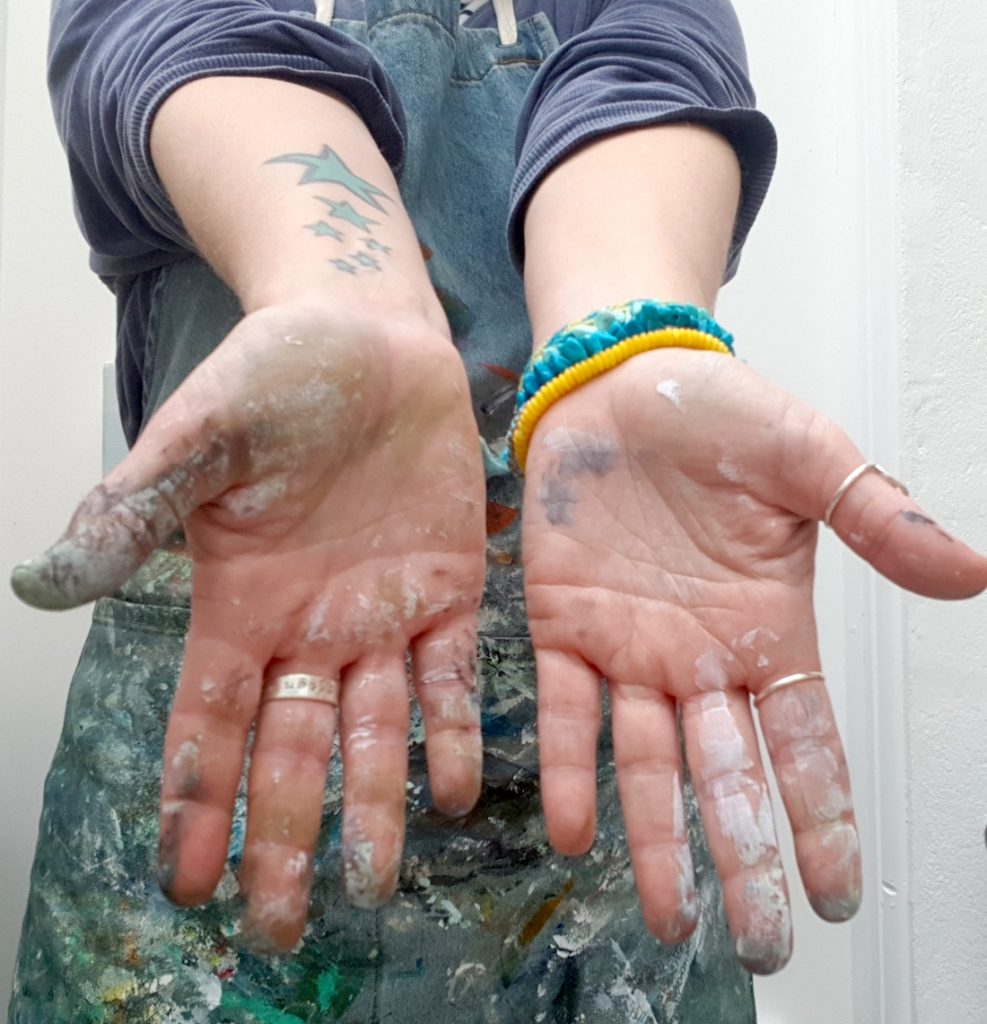
1. Fingers
Fingers can make a muddy mess, sure, but they can also be used to make more delicate marks, to spread and blend, to neaten up an edge, to make dots with fingertips.
You can use a light touch, sweeping gestures with the whole arm, print or smudge with the side of your hand, rub paint back with a cloth over your fingers. And best of all, they’re free. 🙂
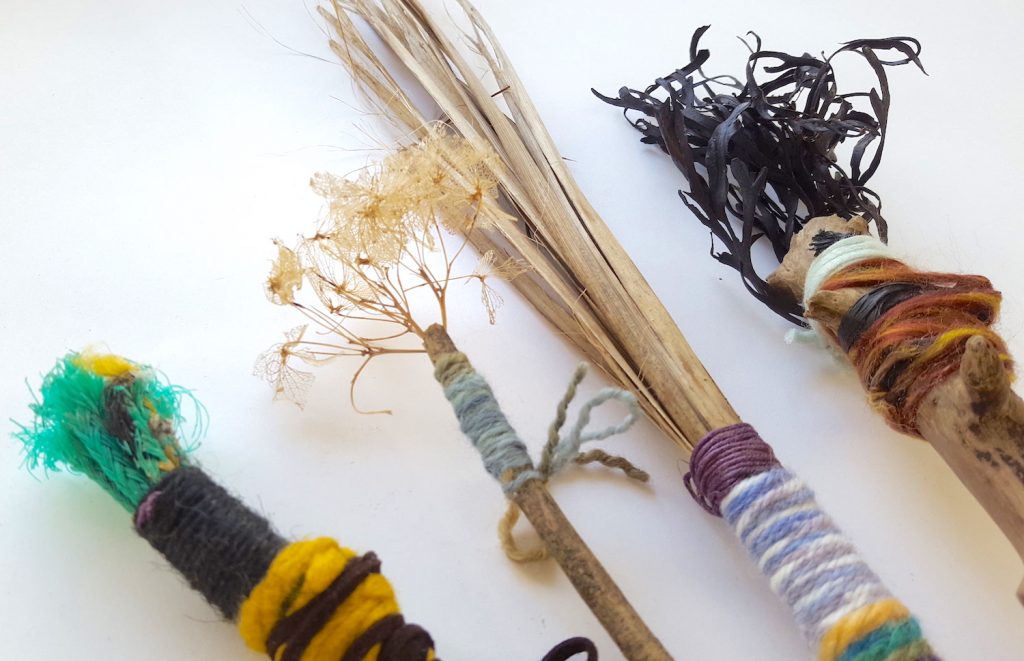
2. Handmade brushes
Therapeutic to make and creative in their own right – even if you can’t then bring yourself to get paint on them 😉 – handmade brushes are a fantastic tool.
They are made of freely available natural or found materials which by their nature will mean looser mark making, encourage reuse and recycling, can make all sorts of exciting marks, and can be gorgeous enough to display.
We go into making your own brushes {and painting with them!} in the Loosen Up course, if this is something you’d like to explore.
3. Sticks
Sticks can be used on their own dipped into paint, or you can tape a piece of charcoal {or a brush, pastel, or whatever else you want to try!} to the end for less control over your marks.
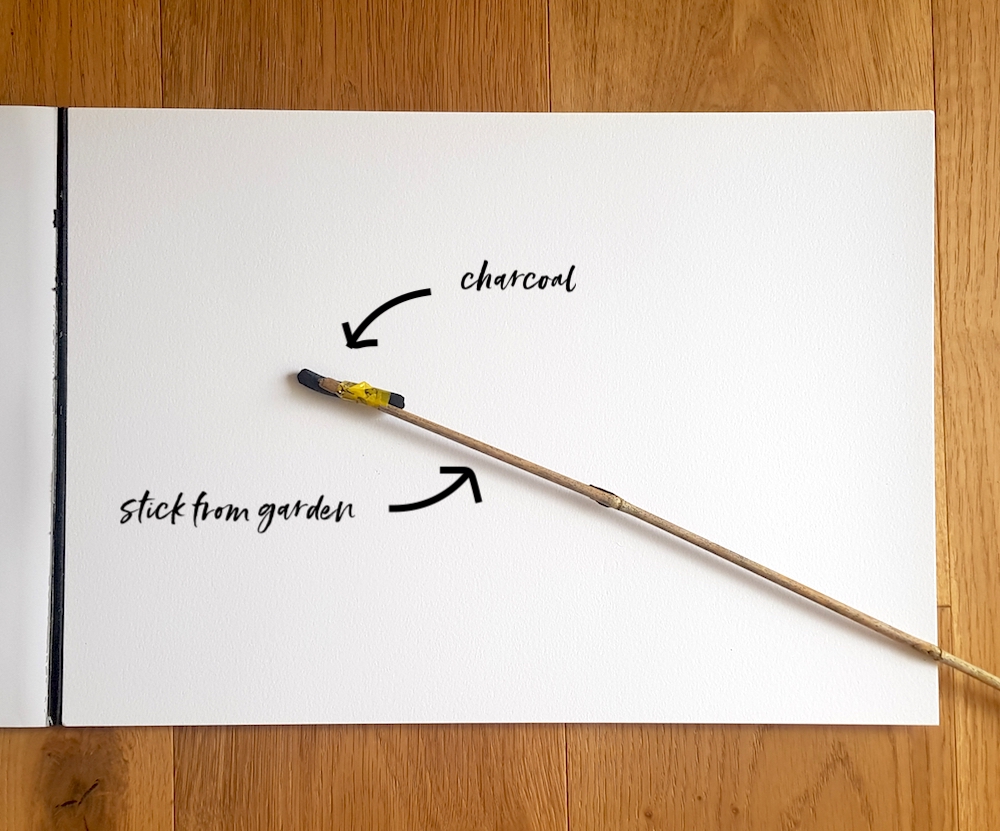
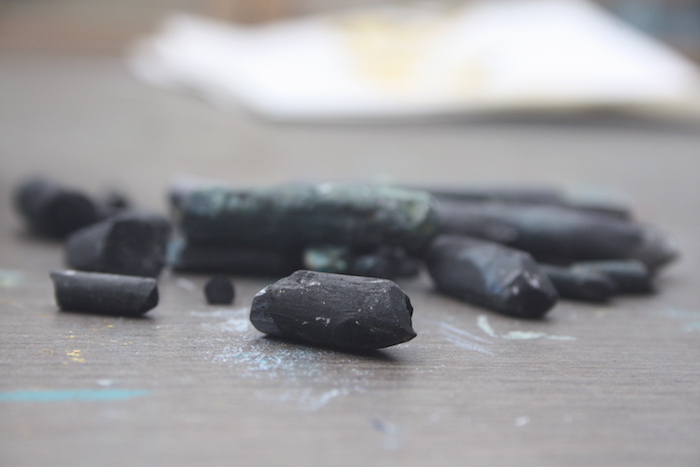
4. Charcoal
One of the most expressive, tactile, lively, forces-you-to-embrace-mess art materials there is, in my humble opinion. 🙂
I’ve loved charcoal for thirty years. I even made a course about it to share the love, because so many people are wary of it, and so many people also fall in love with it when they know what to do with it. {Find the course inside the Happy Artist Studio!}
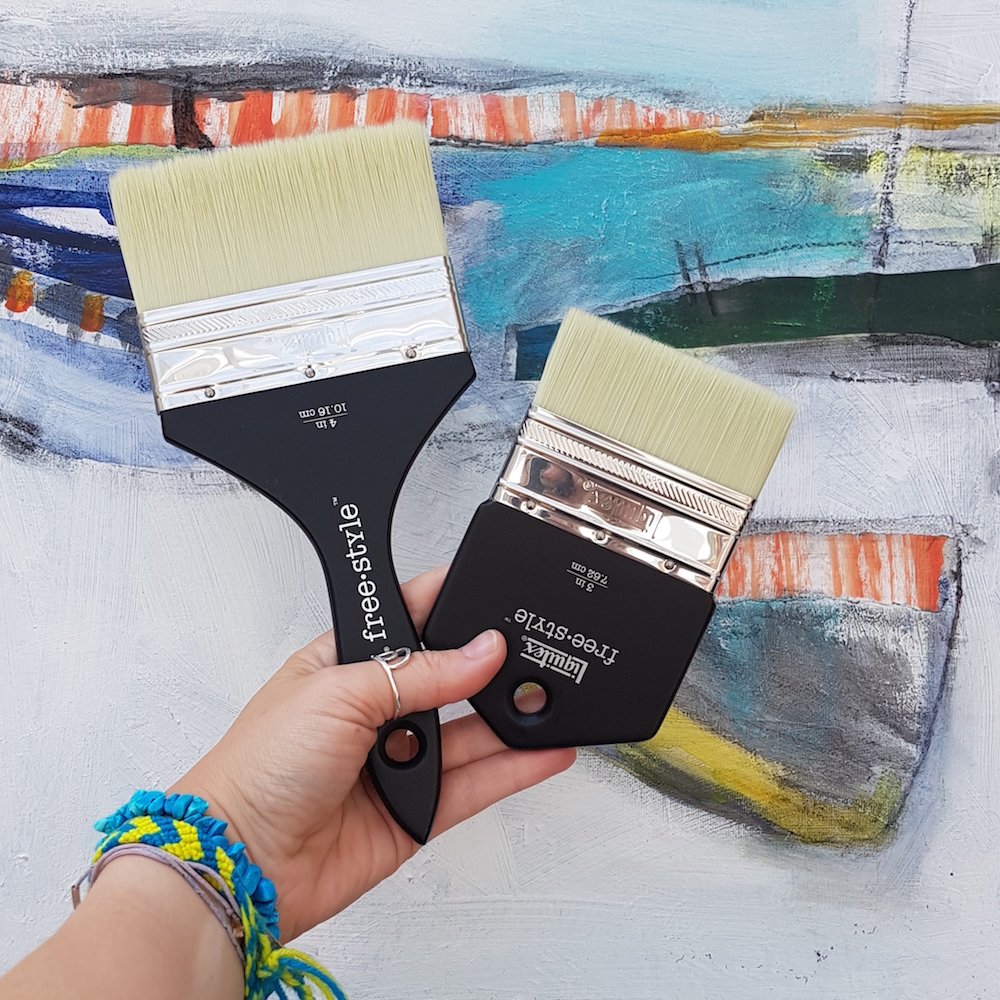
5. Big brushes
One surefire way to stop making tight, overly realistic paintings {when you don’t want to}, is to scale up your tools.
A big brush takes away that fiddly control aspect, and if you want to make smaller marks you have to do it with care and a light touch.
I love love love these Liquitex Freestyle brushes, but they’re not cheap, so house painting brushes can be substituted.
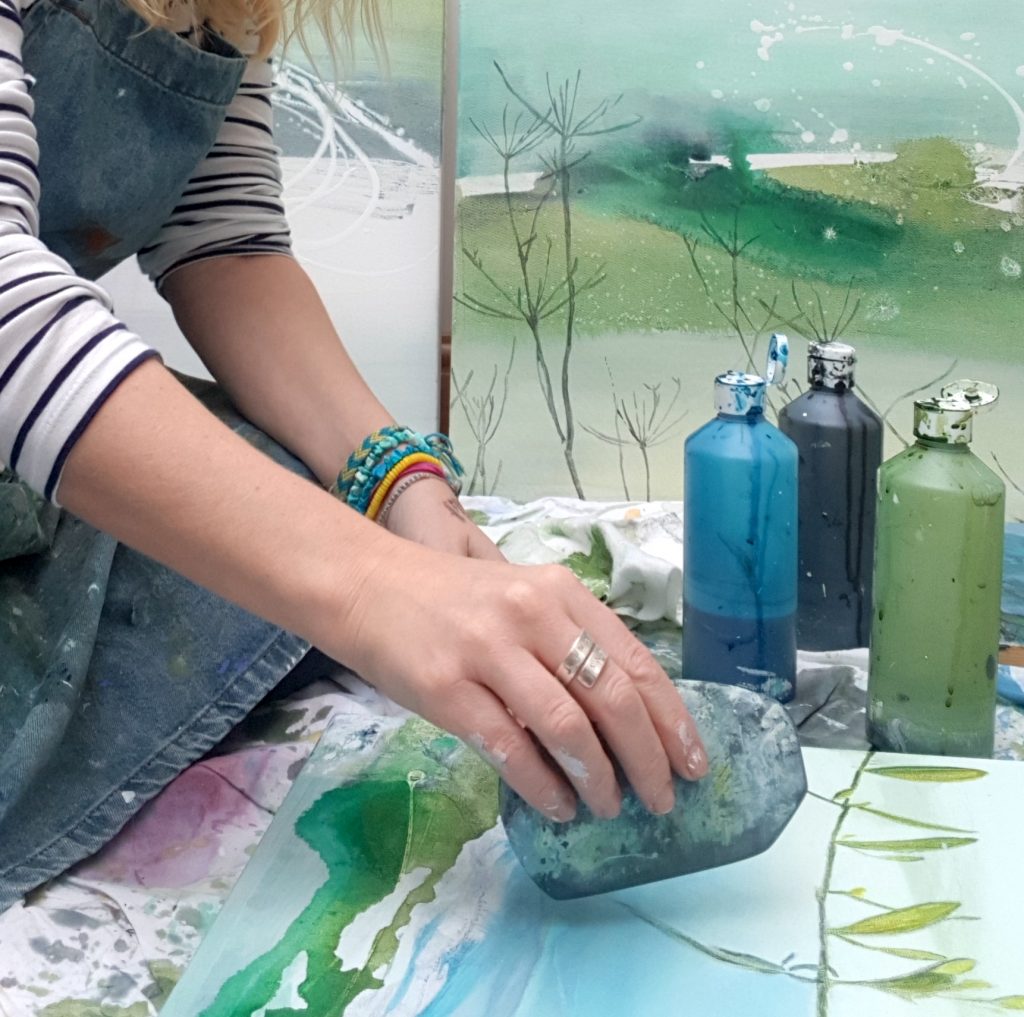
6. Catalyst Wedge
I’m always harping on about this one. With good reason! It changed the way I paint.
It’s incredibly smooth and satisfying to use, and is great for covering large areas quickly without brush marks. It also scrapes back, and leaves interesting textures.
You can carve into paint, lift areas, move the paint around, and, for example, make pattern in an uncontrolled, rough around the edges kind of way.
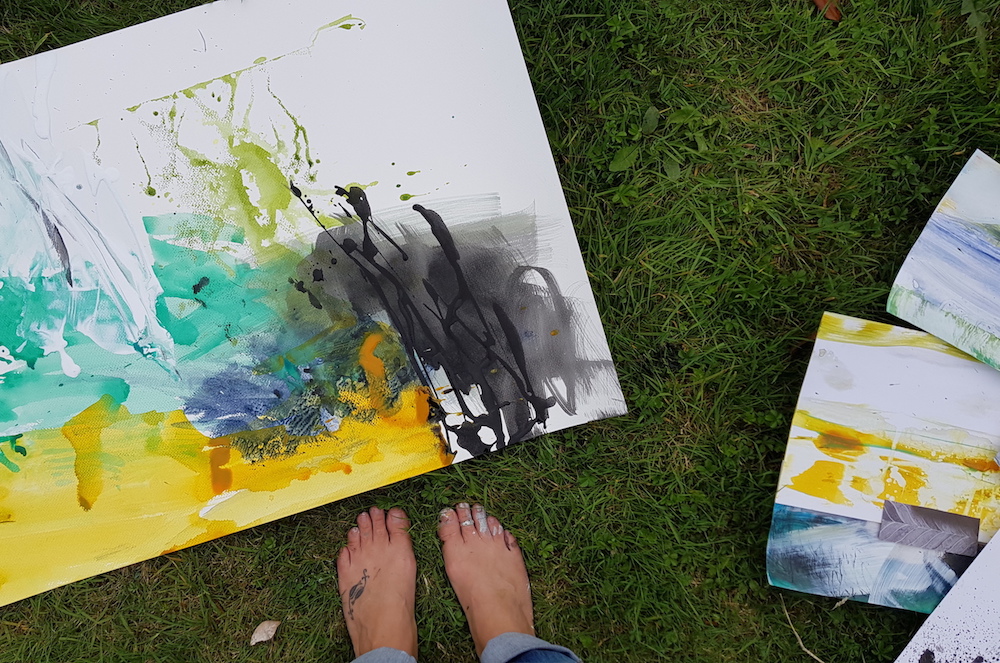
7. Flick
I don’t use this often enough. I love flicking paint, and it’s actually harder than it looks to get it to look how you want, so don’t assume this one’s just for kids!
You can do it large scale, with a big brush and dollops of fluid or diluted acrylic, or small and dainty with a little bit of paint and an old toothbrush.
Flicking can create dramatic spatters or the appearance of a fine sea mist, and everything in between.
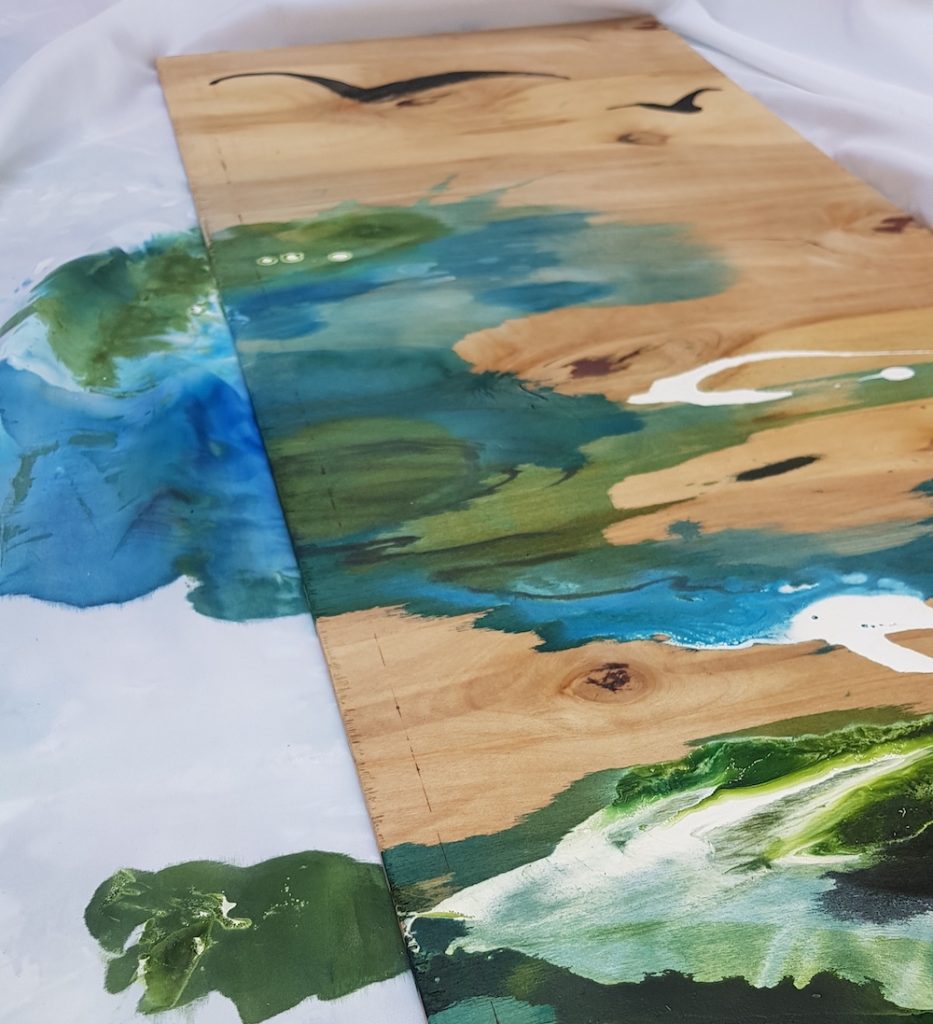
8. Pour
There’s a whole art genre {?} using specific pouring techniques which has gained huge popularity recently. I’m not really talking about that specifically, as I need a bit of line work too in my art.
I like to use the consistency of paint to reflect both subject and feeling in my work.
I use both water and airbrush medium {by either Golden or Liquitex} to dilute acrylics to varying consistencies, then pour and manipulate the paint with my Catalyst wedge.
You can also of course do this with oils and turps or linseed oil.
9. Print
Printing can be reeeeeeally controlled and perfect {think Albrecht Durer etchings, or a screen printed poster where everything lines up perfectly}, or it can be intentionally loose and expressive.
Monoprinting is great if you want to go uncontrolled and painterly with your printing, because no two are the same and you can adjust as you go.
If you’d like to try monoprinting there are of course tons of videos on YouTube, or you can do it with me 🙂 in Loosen Up {inside the Happy Artist Studio}.
10. Blind Contour
You knew I was gonna squeeze this in somewhere didn’t you. 😉
Check out this blog post for more on the joys of blind contour drawing.
Suffice to say, it’s loose, it’s free, it’s fun, and it has many many uses!
These are all some of my favourite tools and techniques for freeing up my own art, many of which I use frequently, some occasionally, and some of which have simply been part of the journey.
Obviously my list is not exhaustive. What would you add?
When I really want to loosen up, I like to…
Work with my non-dominant hand!
Combining this with blind contour drawing gives me spectacularly loose results. 🙂
Yes! Knew there was something I’d forgotten. 😉 I love to do that too – as you say, when combined with blind contour there is literally zero control! Thanks for adding that to the list Paula!
I love using sea sponges and cling film as well as all the items you have listed, they all help you create loose creative art with amazing surprises.
Yes! I love sponge too {although I gather it’s not always ethically sourced so I look for ones that are}.
Your writing today was beautiful! I understand the feeling you describe while sitting by the sea. I can’t truly meditate in a class or group. But alone in the right place you can become the sea.
I love your writing and I can connect any of it to art.
Oh yes I’m the same in a group! Too much ‘other people’ energy! Thank you so much for the kind words Mary, and I’m glad you enjoyed it!
I watched you free video. That was very nice, however having to read the text while trying to watch the painting becomes such a challenge I feel like I miss something in one or the other. Do “speak” your video classes?
Depends on the class Marian – in Abstractify I do speak over the videos. On some of the shorter courses and free videos I don’t, but I do encourage people to always watch/do the exercises more than just once. 🙂