It’s quite a common dilemma to reach a point with a work in progress where you know it’s not finished, but you don’t know how to work out what your unfinished painting actually needs to be ready to declare it complete.
{And FYI, getting fed up and deciding to just call it done when you know it isn’t is not the way to your truest art. I have of course never done this.}
For the purposes of demonstration, I’m going to use one of my own recent unfinished paintings to go through some of the options with you.
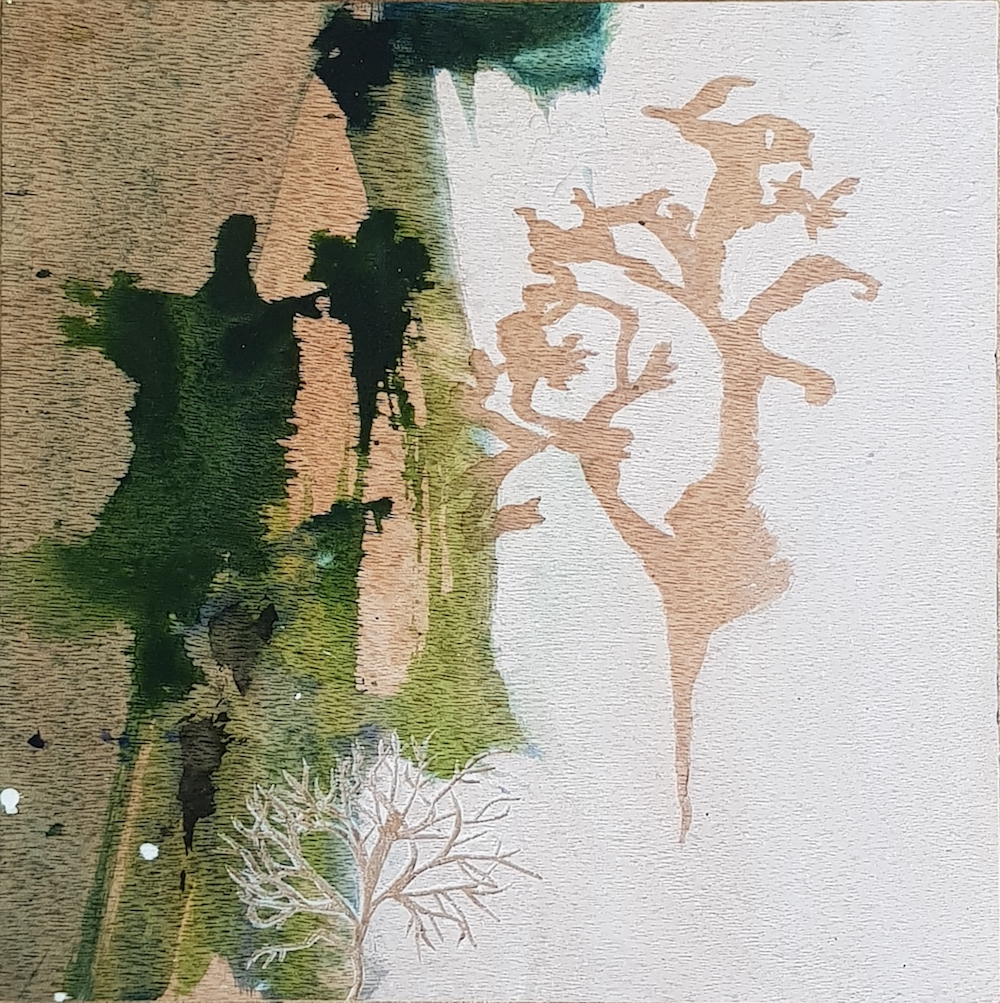
Here is the painting in question, at the point it had reached when I got stuck:
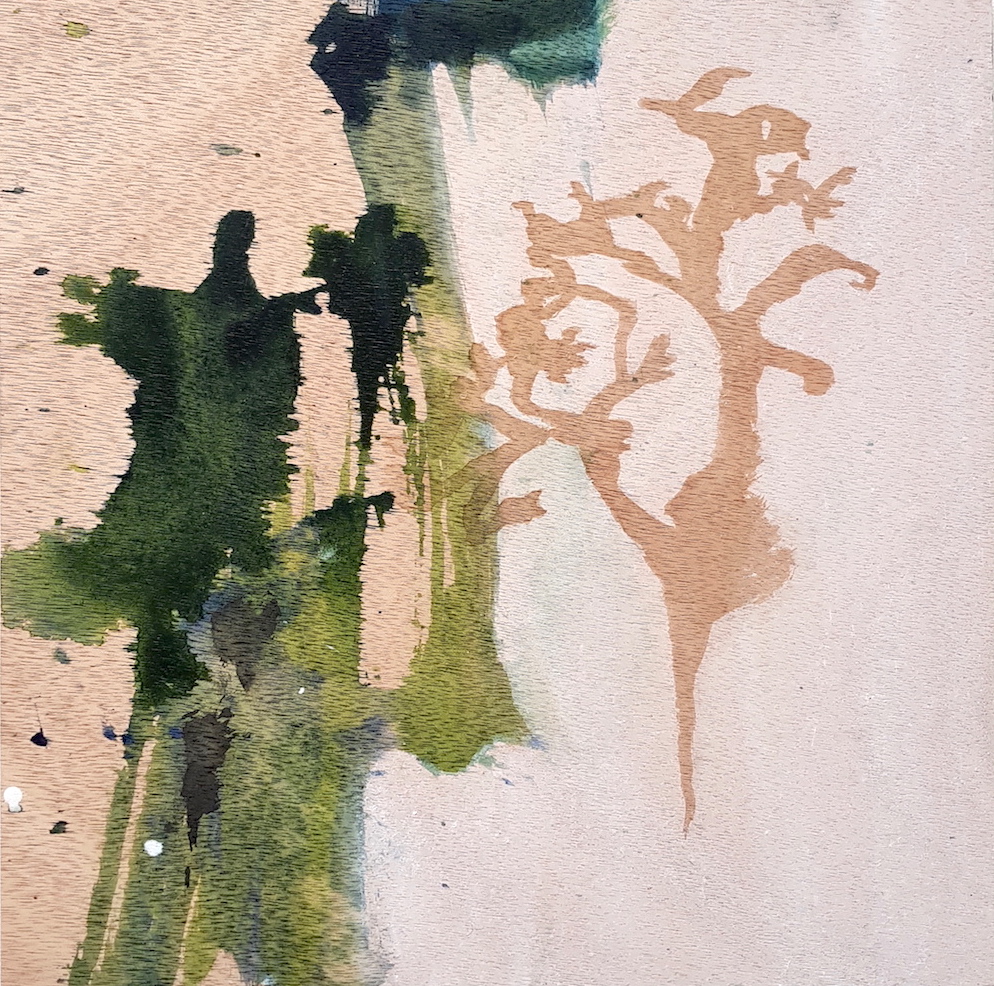
The greens were the first layer. They were followed by the seaweed, painted in walnut ink. I then went over this with masking fluid in order to paint in the white area. When I peeled off the masking fluid the seaweed reappeared! Gets me every time. 🙂
At this point the painting sat there for ages while I worked on others, although I kept coming back to it because I knew it had a way to go. I was really stumped though.
I couldn’t work out what it needed; all I knew was it felt flat, predictable, lifeless and too decorative. It was lacking the movement and spontaneity I want my paintings to have.
Sidenote and tip: Try not to get too caught up in ‘working out what to do’ before actually doing anything. This has its place, of course – it’s not wrong to think through possible options – but it’s in actually doing more to the painting that solutions will ultimately make themselves apparent.
If nothing else, painting will teach you greater resilience in risk taking.
Typically the first thing I’ll do when I reach a sticky point in a painting is turn it upside down, and/or use a mirror to look at it in reverse. I also step way back across the room to look at it from a distance. This can make any imbalances or obviously jarring aspects jump out immediately.
Only, it didn’t.
My next move was to look for the contrasts and see what might be missing.
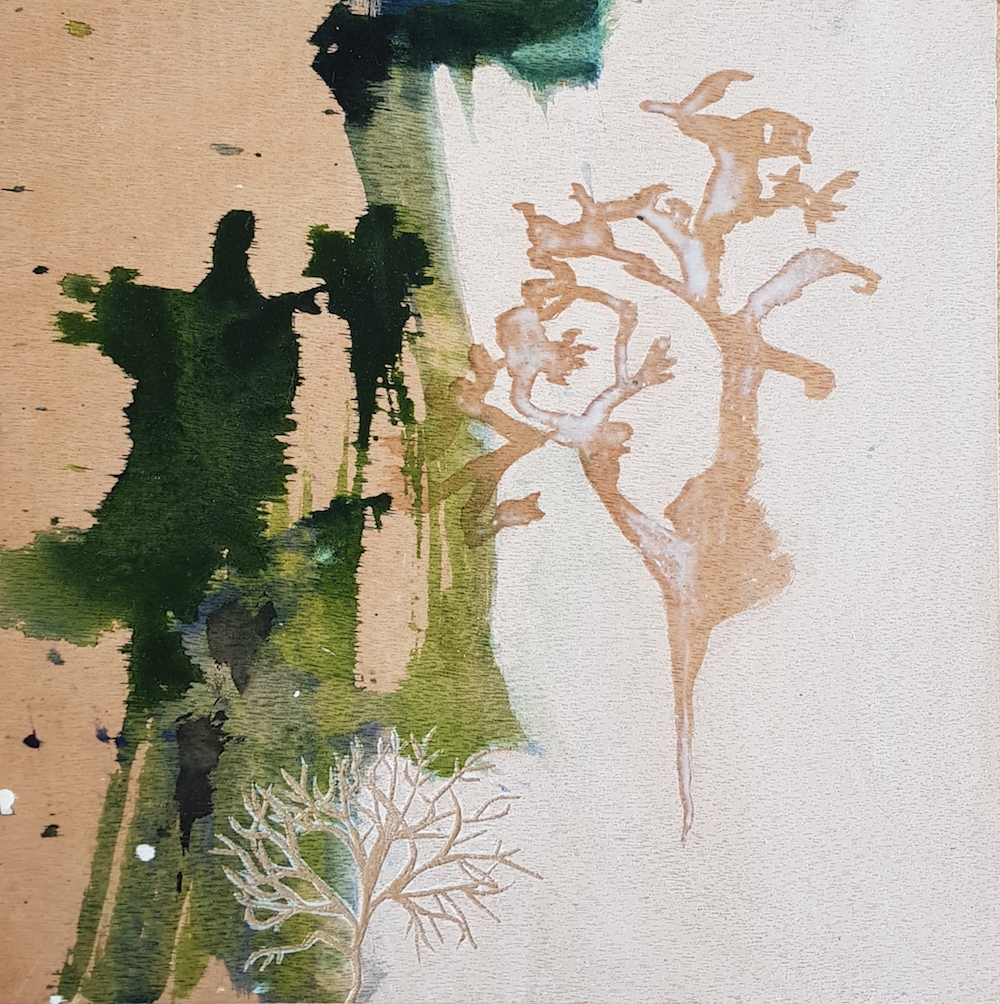
There were the uncontrolled green splashes, and the flat white area. There was also the seaweed {seen here with masking fluid still on it}, which felt a little too much like the green area for me, visually.
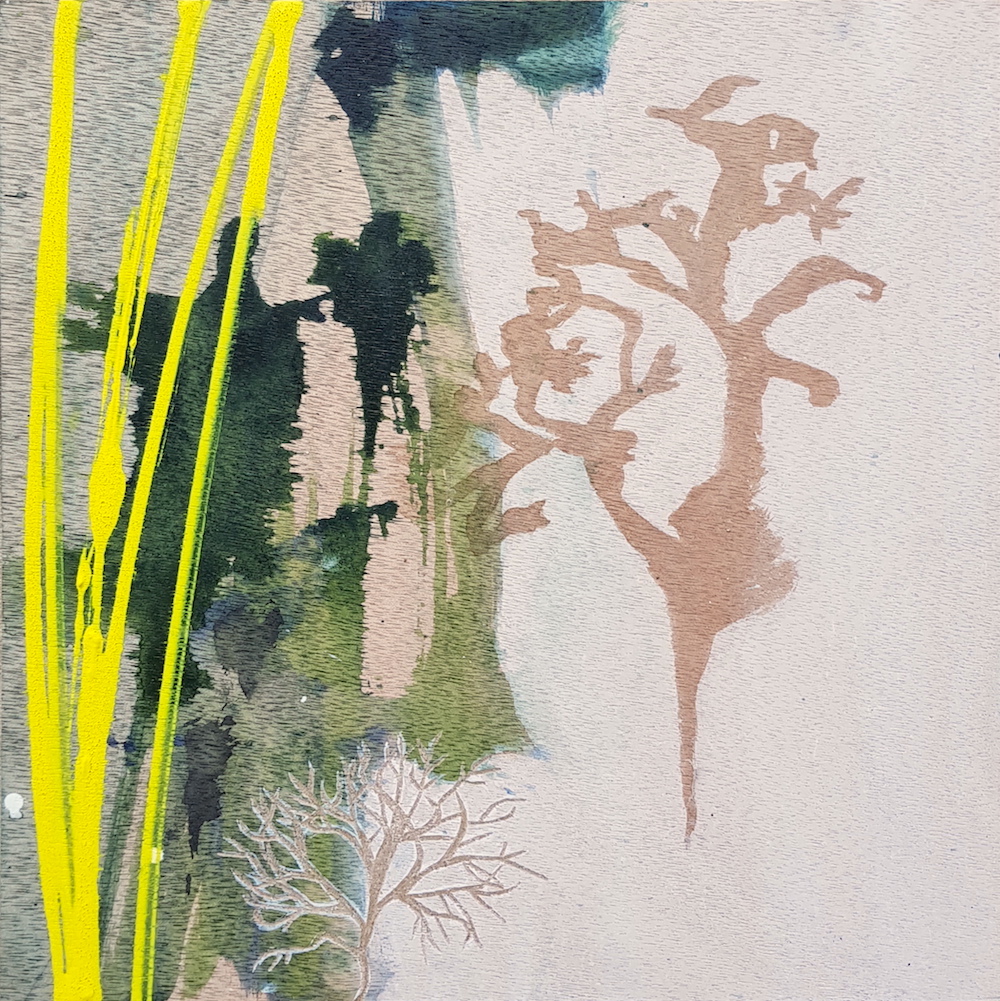
So to create a contrast with all the ‘thick’ marks, I painted in a different type of seaweed, with thinner fronds, and then carved it out, as seen in the image above. This created a double contrast – the difference in marks and the difference in texture.
It also creates a different-feeling area of negative space. By having it overlap the white and green areas, it connects that part of the painting and brings it together.
I was still quite bored by it though.
So I decided to go digital.
I used the built in image editor in my phone {Samsung Galaxy S8} to try out some Bold Moves* without commitment.
*See here for more about the Bold Move.
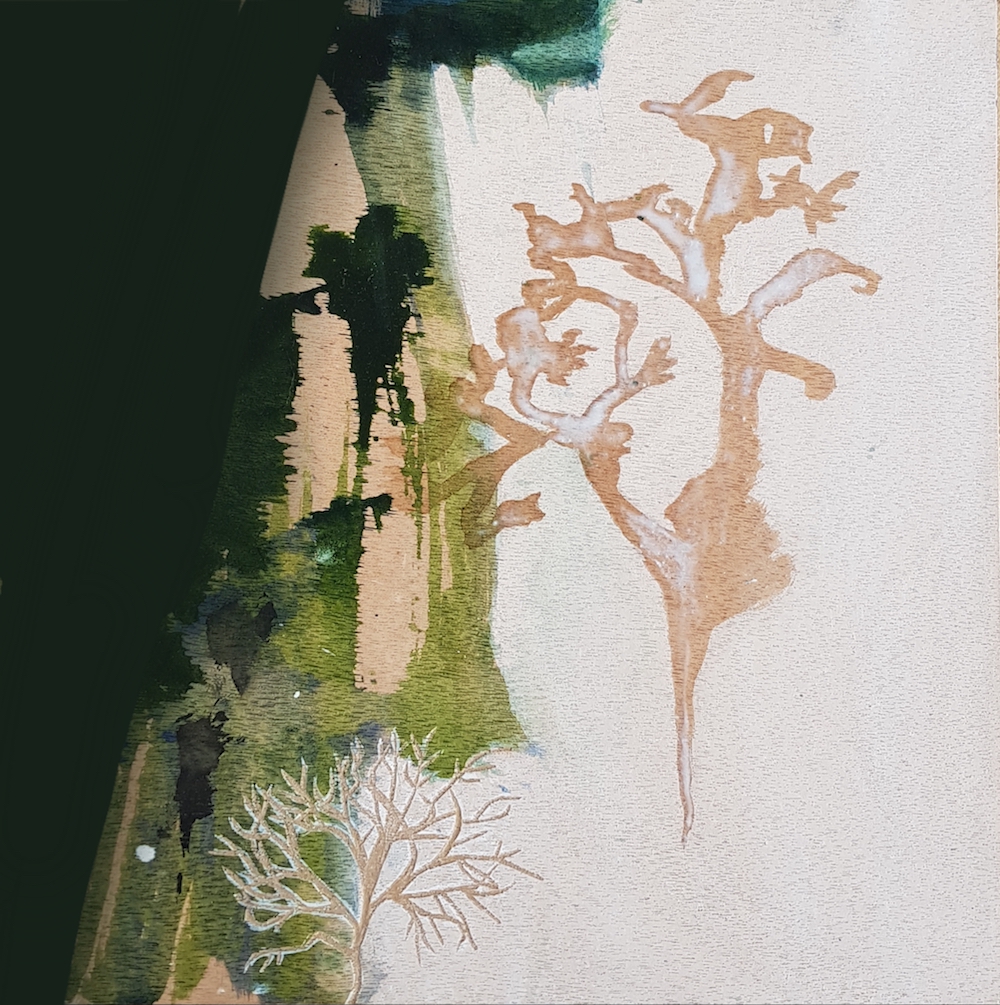
Using an image in my phone, I blocked out an asymmetric area in the dark green, to see what that did for the painting as a whole. {See above image.}
I was still unsure but figured I had nothing to lose as the painting was still limping along, so decided to try it on the actual wood panel. It didn’t look right – too dark, too abrupt, and I tend to avoid emphatic straight lines as water rarely offers them, so I washed it off.
It left a subtle stain, which I liked:
You can see where I painted in the dark green and then immediately washed it off under the tap. It brings out the grain of the wood and adds another layer of depth to the overall painting.
Sidenote and tip: Don’t be afraid of doing something you don’t like. Paint can be washed off, wiped off, painted over, blended, collaged over, scraped into. And in the end, it’s only paint. 🙂 This is partly why I work in multiples – much less pressure on each painting.
Still wandering around in the unknown, I tried something else with my image editor:
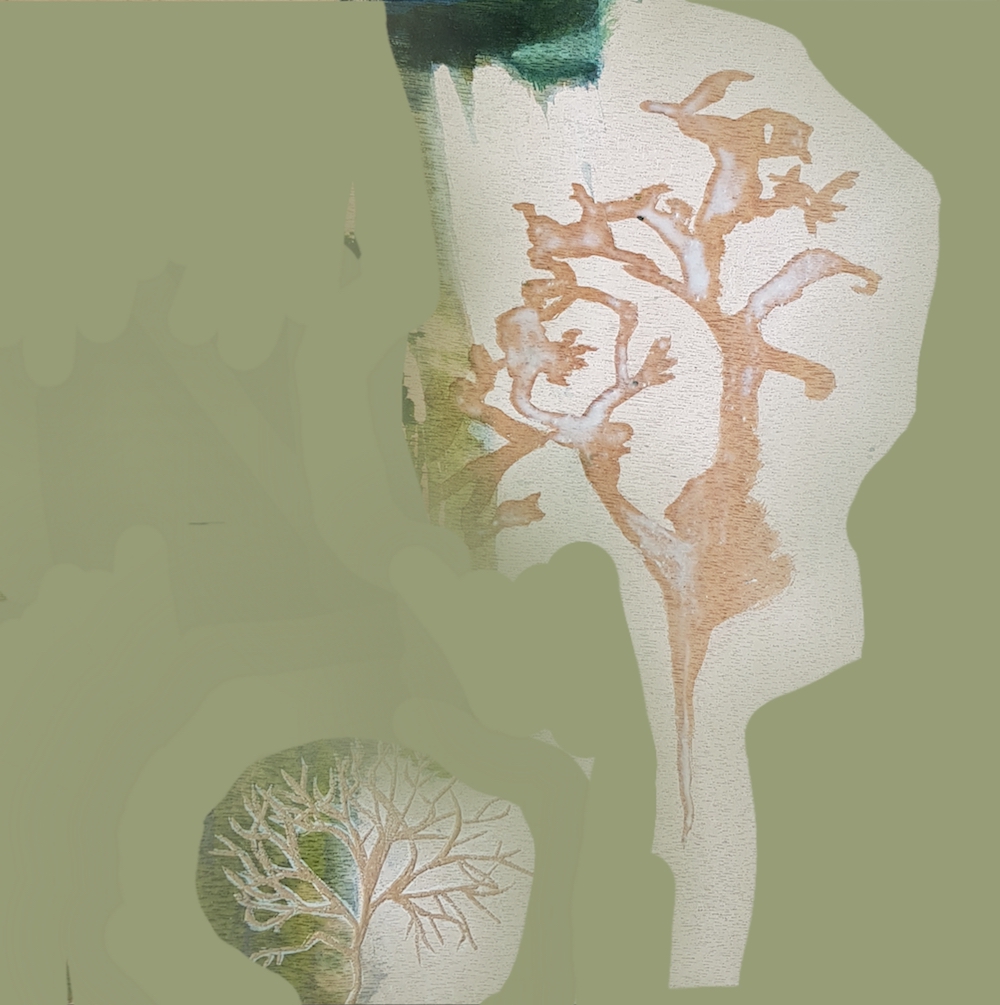
Another bold {digital} move – what happens if I get rid of almost everything except the seaweed?
I really liked this, and could have gone with it, but it didn’t feel quite right. It felt like a bit of a cop out honestly, and took the painting back to flat and decorative, which I was trying to get away from.
And then, because it still felt flat and lifeless, and I was mentally re-experiencing what it feels like to be immersed in cold water while the seaweed floats by, I realised what it was missing: the zing, the feeling of aliveness, the almost electric feel of the cold and the subsequent adrenaline rush.
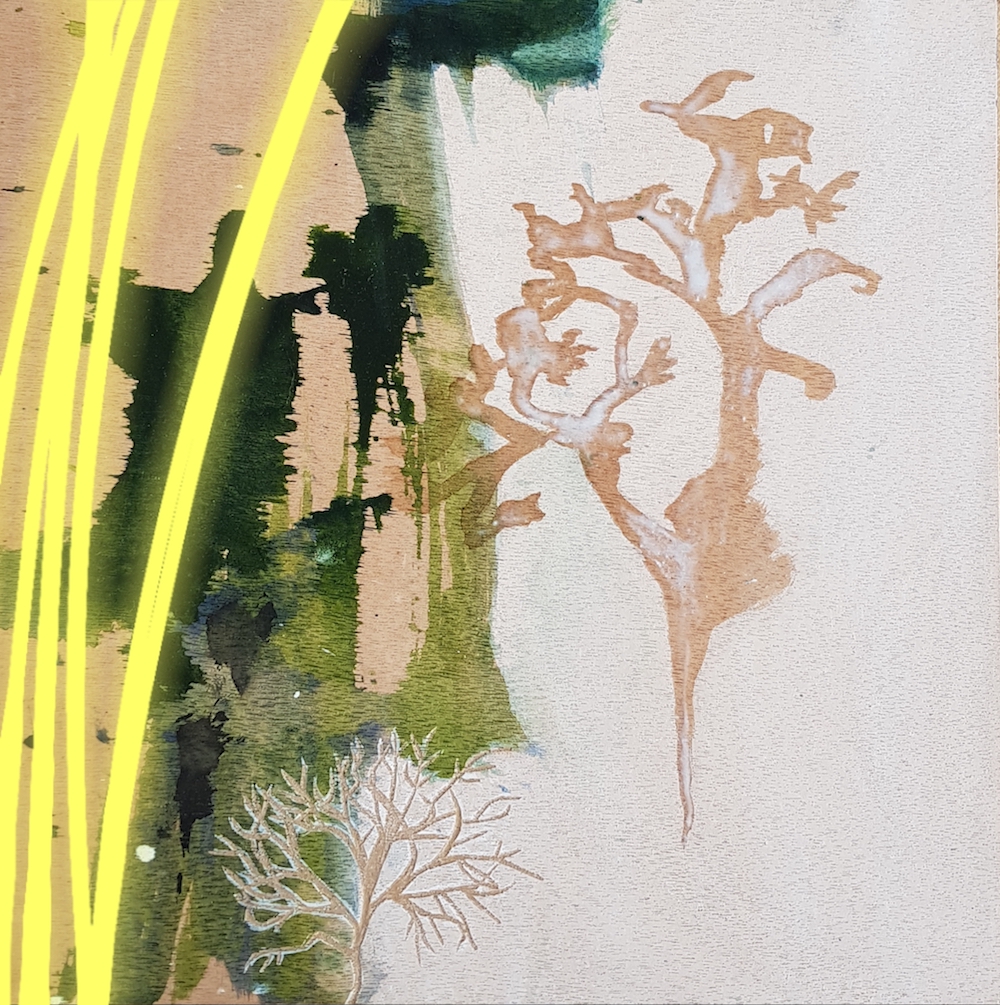
What was lacking was the unexpected, the fizz of being alive Right Now, that is the gift of a wild swim. So I threw some neon yellow in to see what would happen.
Definitely unexpected!
This was the closest I’d come to feeling the painting was really going somewhere, so I decided to go for another Bold Move and try it in paint.
I shook up some bright yellow acrylic with airbrush medium to make it fluid, using an empty airbrush medium bottle, which has a squirty nozzle {technical term}, to replicate the digital idea. A brush wasn’t going to work – I needed a continuous stream of paint.
It had to be done fast and confidently to carry the right energy, and if you haven’t tried this ridiculously easy and surprisingly effective trick – taking a breath and just deciding to do it with confidence – I recommend it.
The lines are imperfect, which I like, and they add a strong contrast – in both appearance and colour – to the more organic lines and natural palette of the seaweed and ‘water’, while offering that electric energy I was talking about.
This is a new development in the Underwater Garden paintings, and felt quite daring, to bring in such an anomalous colour.
But this is how work develops. Or not – sometimes paintings happen that are just different, and that’s ok. For me this one still carries enough continuity with the rest of the collection.
There were any number of ways this painting could have gone, but by trying a few experiments and seeing what happened created a path that led to something new.
Plus I’ve applied the ‘finished….for now’ policy, which means I can go back and change it if I want but can also call it complete right now.
A painting is a living thing; I like that they can be complete while also being open ended and available for growth, just like humans. 🙂
I didn’t apply All The Ways to unstick and finish a painting – sometimes one or two are enough – so if you need a few more ideas, check out the following:
16 more ideas {especially for abstract work}

That yellow streak is very cool 🙂
Mobile apps are a total game changer. I used to do this in Photoshop on the computer too, but that takes long and makes it feel like a “project” in itself. Snapping a photo and playing with it in on the phone/tablet can be done in a few minutes. I like it not only because it doesn’t “destroy” the original art, but it allows me to try out a few different options and compare side by side, which I can’t do IRL.
I like the neon yellow! What a surprising element!
I do wonder, however what some well-placed gold ( gold leaf?) *may* do to softly bridge the gap between organic and inorganic. Beautiful so far!
I like the extra energy that the yellow brings! All very interesting tips! Thank you
Glad you enjoyed it Jilly!