Over the years, I’ve picked up so many painting tips, ideas, tools and techniques for starting or embellishing paintings, that I decided to put a bunch of them in one place as a kind of instant resource for stuck moments.
I have used them all myself at one time or other, and some regularly, so they reflect my mixed media leanings.
Some are quite general, some specifically painting related, and others are more inclined towards sketchbook or art journal work.
Many of them use items you already have in your home, so no need to buy anything fancy. 😉
Pick the ones that look interesting and get experimenting!
1. Chalk is an excellent tool for drawing ideas onto a dry acrylic painting to see if they will work. It can easily be removed with a damp cloth as many times as you like .
2. Use up excess paint on the palette to create backgrounds in your sketchbook or to start new paintings, so you’re ready to go next time and no Blank Canvas Syndrome.
3. Turn the canvas or page from time to time to look for what to balance or any shapes you might like to pull out and emphasize .
4. Use masking fluid or a low tack tape to mask areas of the painting; great if you want to keep certain bits but glaze over a large area, for example.
5. Look for unusual items to stamp with. Eg. Fruit and veg (celery is fun), cooking utensils, corks, plastic lids for different sized circles or dip them in paint and roll sideways on the paper. This is a great idea if you want to introduce pattern {think Matisse as well as more regular surface pattern}.
6. Washes of colour can change the mood of a piece. Make glazes with glazing medium, or simply water down the paint.
7. Gesso over the bits you don’t want to keep, or use collage to cover them.
8. Print on tissue paper by lightly dabbing a glue stick to the corners, sticking it to a piece of printer paper and running it through the printer – this works for images and text as long as you don’t mind the odd idiosyncratic smudge, blur, or ink blob .
9. Use an old credit card to smooth out collage papers when sticking them down, or cut one edge with pinking shears to make interesting lines in wet paint.
10. Take a feather you find while out and about (pigeon and seagull feathers are good), snip the end at an angle and dip in a bottle of ink to create gorgeous quirky lettering or line drawings on your artworks .
11.If you use a certain colour in one area, use it in other areas for flow and cohesiveness.
12. Put blobs of paint or squirt some ink over a piece of paper or page of your sketchbook, then press the book together or another piece of paper on top, peel apart, and let it dry. Look for shapes to pull out and develop.
13. Draw something without looking at the page, then colour it in with many colours for an abstractified version of the original
14. Choose two pieces of music, one fast and lively, one slow and soothing, and paint to them both and see how different it feels.
15. Find a few different objects with points on them {eg. The ‘other’ end of a paint brush, a fork, or a stick} and use it to make marks – known as sgraffito – in thick layers of paint.
16. Baby wipes make a great tool for blending paint on the page. {If you can get biodegradable ones, even better.}
17. An old toothbrush with paint on it can be flicked onto the painting to make random splatters.
18. The inside of boring business envelopes can have lovely patterns and be used for collage. #recycling
19. You can cut shapes into erasers with a sharp knife or blade to make homemade stamps. Also don’t forget potatoes!
20. Remember you can choose to believe there are no mistakes, just learning experiences. Let that thought free you up to try new things.
21. If you are working in a sketchbook, start several pages so you have a choice of what to work on each time you go to it.
22. To make a great abstract effect, paint two or three colours on thickly in acrylic, then lay some cling film {saran wrap} over the top and smoosh it around. When you peel it off it will have moved the paint around in very cool ways.
23. Doilies make an excellent stencil and can then be used as collage pieces in the painting.
24. Bubble wrap is great for stamping with, or lifting off colour.
25. Cover an area with charcoal and blend with your finger, then use a putty rubber {kneadable eraser} to remove the charcoal to make a ‘reverse’ drawing or as highlights in your charcoal sketch.
26. Choose a photograph with simple subject matter, turn it upside down, and draw it that way; great practice in seeing things differently, and you may be surprised at how it turns out!
27. Tissue paper scrunched up then loosely flattened out and glued to the canvas creates a beautiful textured background to work over. {Try dry brushing over it – see number 33.}
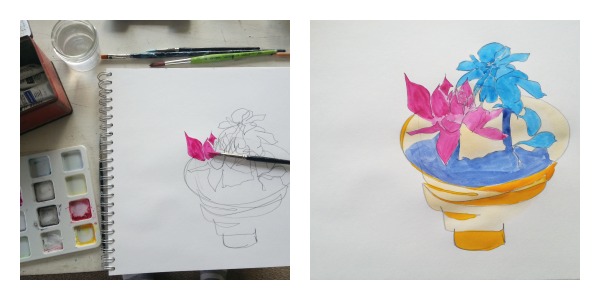
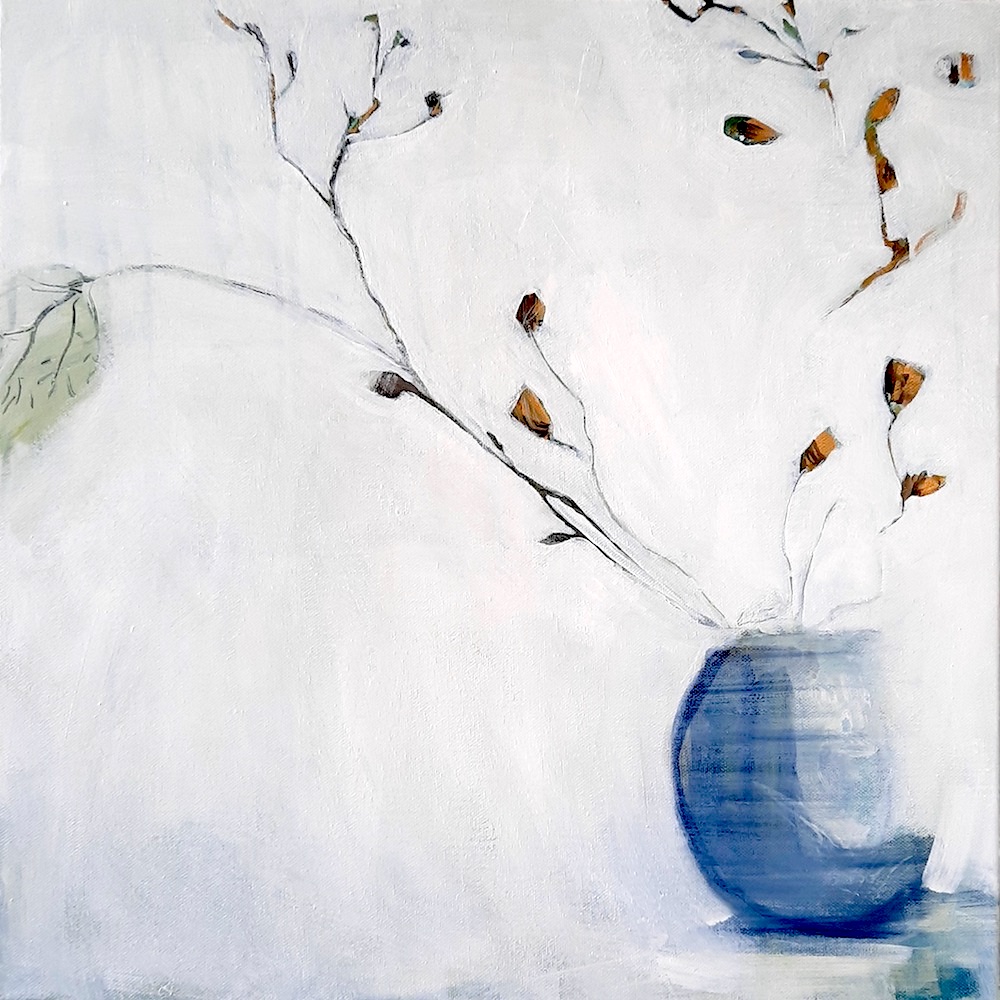
28. Play with leaving large areas of white space on the page or canvas for a more minimal, pared back feel.
Here’s an example from the Into Nature course, where we look at finding the essence of the subject:
29. Use collage to ‘draw’ – cut out a figure or still life image from a magazine and use gesso and paint to create a painting that incorporates the figure without needing accurate drawing skills.
30. Draw a map of something; the area you live in, your favourite place, your brain, from where you are now to where you want to be, anything you like. Use color to bring it to life, illustrate it with meaningful symbols, or abstractify it into something only you can ‘read’.
31. For a meditative, process driven activity, cut patterned papers into equal sized squares and stick in your sketchbook or on a canvas. From there you can decide whether you want to paint or draw over them, or just admire them. Try with other shapes.
32. Another version of this is to draw a grid over a magazine page or on various patterned/vintage papers, cut it out, and stick the pieces down differently to create a quirky and beautiful abstract paper quilt.
33. Try dry brushing, which is what it suggests; a very small amount of paint on a dry brush. Use an old brush and scrub it about to make beautiful soft marks. A great reason to keep almost dead brushes.
34. Paint big! Brown paper is good as it comes on a roll, or lining paper. A bigger surface is very freeing and allows space to try lots of messy techniques like splattering and dripping paint, spreading it with your fingers and doing big scribbles! {See me doing it on canvas here.} A good loosening up exercise.
35. Use your big painting as backgrounds; cut it up, cut shapes out of it, make cards to give to people, draw on it…
36. Use some of the above techniques to make postcards, and send them to your loved ones.
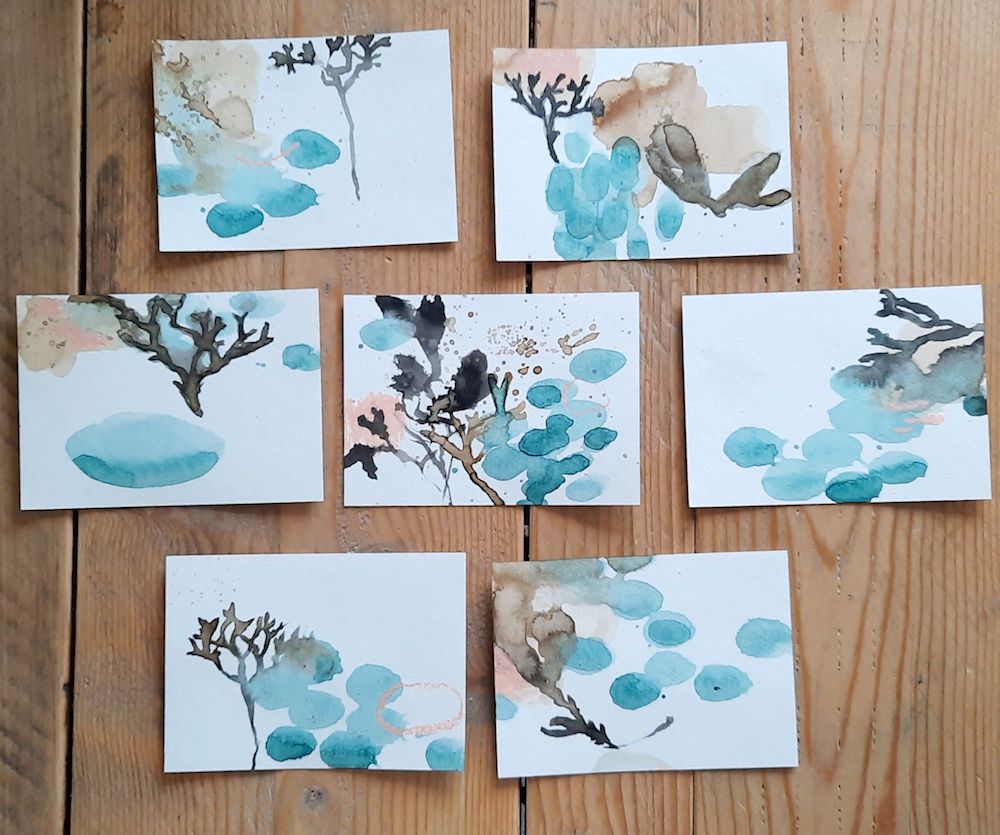
37. If there’s a specific painting technique you’d like to try but don’t know how to go about it, YouTube is an excellent free resource. {And a major rabbit hole! Use a timer if you don’t want to get lost in there!}
38. Pick a colour, subject or letter and keep an eye out for it all day, or go on a photo walk and see how many versions of it you can capture. Sometimes painting inspiration comes from a bit of lateral thinking.
39. Use tea or coffee to stain your page and make it look aged.
40. Turn your reference image upside down and draw from that – it helps stop the eye seeing what it thinks it’s seeing, and really see!
41. Treat yourself to an intriguing new art supply – and use it! No squirrelling it away for ‘when I’m better at art/have a specific idea for it/feel ready’!
42. Wet a piece of paper, drip inks or liquid acrylics into the wet areas, let them spread or drag them with the other end of the brush, leave to dry, then find images to pull out or draw on top of the shapes.
43. Repurpose those paintings on paper that didn’t work out. Try the Make Cards from Your Art mini workshop, just $9.
44. Create constraints – try working only in 2 or 3 colours, or black and white; use a timer; use only one material. What creative ‘limitations’ can you put in to boost your creative thinking and make new discoveries?
45. Set up a simple still life using objects from around your home {make sure they vary in size and shape}, then practice drawing them in different ways – with your eyes closed, with your non dominant hand, drawing the space around them, blocking in the shapes with colour, or with collage…
Phew! Well if you don’t find something in there to spark you up I’ll be quite astonished! Which one will you try first? And do you have any you’d like to add? Share in the comments!
 Want to use these ideas – and many more – in a guided environment as you continue to uncover and refine your artist voice?
You might like the Happy Artist Studio – a membership for artists ready to move beyond copying, develop their own voice, and build a sustainable practice, with support and plenty of resources.
It starts at just $37 a month, and you can find out more by clicking here, or the image on the left.
Great ideas Tara, I few I already do, but will try some out. Thank you for being transparent in your art, I love when your newsletter arrives in my inbox, it brings me ????
That’s wonderful to hear Michelle!
I love these ideas … but, there are only 41, four have gone on walk about I guess. I’d love to know what those ones were too. =) Thank you for this wonderful blog.
Finally fixed it! 😆 There are 45 now.