I’ll try not to do too much preamble since if you’ve been hanging around here with me for any length of time you’ll know I can get a bit evangelical about blind contour drawing. 😉
So I’ll just say, if you haven’t tried it, here are some ideas, and if you have, here are some ideas you may not have tried yet. 🙂
But first, a few reasons why you might want to play with this magical technique…
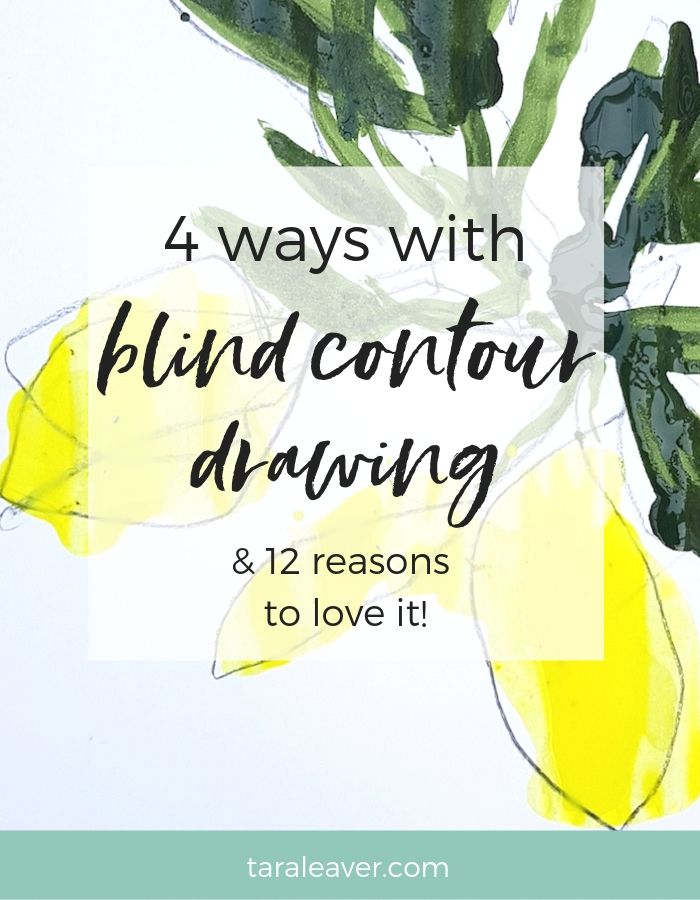
12 reasons to love blind contour drawing
- Because you can’t control it, it frees you up from perfectionism, getting it ‘right’, being ‘accurate’ and making ‘good’ work
- It’s a way to be fun and playful with your art without having to ‘try’ to play, and often produces laughter 🙂
- It’s a great way to warm up if you feel like making art and are not sure where to begin
- It helps train your eye and hand to work together
- It’s essential practice in observation – a key part of making art
- It can be a great addition to a painting
- It’s a way to add drawn elements without worrying about if they will be ‘good enough’
- It’s a great way to abstractify if you find yourself getting stuck in realism and wanting to be more expressive
- It can be relaxing and meditative
- You can take it in all sorts of directions or just leave it as is
- It can create movement in an otherwise static piece
- It’s supposed to be inaccurate and possibly awkward or funny looking, so you literally can’t get it wrong!
If that all sounds good to you, read on for four ways to use blind contour drawing in your art!
1. A simple starting point
Either as a means of warming up, or as something to develop into a full painting.
- One piece of paper, one mark making tool, one interesting object.
- Set up your object in front of you, place your mark making tool {we’ll say pencil here} on the paper, and start to draw the object.
- Once you’ve put the pencil down, don’t lift it off the paper until you’ve drawn the whole object.
- And don’t look at the paper or the pencil, only at the object.
The more you do, the more you’ll ‘get’ how it works.
Once is often unsatisfying because it can take some time to get past aiming for mastery right off the bat.
{It’s debatable whether there can be mastery with such an inherently inaccurate drawing technique, but that unfortunately isn’t always enough to switch that part of our brains off at first.}
💡Tip
A vase of flowers is a good subject for a satisfying outcome because there are lots of lines, so it tends to be more interesting than something with a simpler outline, like a pear.
However, if you’re new to it and flowers feel a bit daunting, start with the pear!
Variations
Try different mark making tools – charcoal, marker pen, oil pastel, a brush loaded with paint that you let run dry as you draw.
Example: Blind contour video
2. Colour blocking
Make your blind contour, then choose one to three colours, and spend some time considering where you can add them for most impact.
Maybe you fill in the negative spaces, or perhaps if there are lots of enclosed areas sections, you pick them at random.
Variations
You could colour block the whole thing, or challenge yourself to go minimalist and only colour up to three areas, for example.
3. Multiple drawings from one
Lay out several pieces of paper of various sizes so that they overlap, and draw your subject across the pieces so it touches all of them.
Some pieces will have almost no lines on them, some will be busier.
Then you can separate them out into unfinished abstracts, and develop the most interesting ones into completed pieces in their own right.
Variations
Try using a selection of different coloured and textured papers, or different mark making tools.
4. Tape it
Use masking tape to mask off the edges of a page in your sketchbook or on a piece of paper.
Draw your blind contour large, allowing it to go over the taped edges.
Add your colour {or not}, and then peel off the tape to see how fabulous you are at abstract art. 😉
Variations
Play with the size of the area you tape off, or try leaving more than one area untaped for further abstractifying.
These ideas are simple and use a minimal amount of materials. You can of course adapt or expand them as ideas come to you.
Have you tried blind contour drawing yet?

I absolutely love getting your emails and this time I will definitely be giving blind contour drawing a go ????. Many thanks.
Cheers Judy.
Yay! Glad you enjoy them Judy. 🙂
I love your emails Tara and your approach to making art. I’ve had some good results from blind contour drawing- thank you ☺️- and am going to try using many sheets of paper and also ‘tape it’. For the first time I’ve got loads of artistic ideas buzzing around in my head. A very big thank you, Gill
That’s wonderful to hear that it gave you some inspiration and ideas Gill!
After many years of being psyched to make art, I am about to dip my brush in color. In great measure, thanks to you!
Hooray! 🙂
Looking forward to your emails! I’m a painter that seems to be stuck with realism, and need advise, tools, etc. to help me loosen up.
Welcome aboard Coby!
I think this is just what the art doctor ordered. I’m going to give it a go. Love your style and tutorials. You help make being an artist fun and rewarding. Always uplifting reading your work. Thank you for putting so much attention and love into your messages about art and being an artist.
Ah that’s great to hear Jill, thank you! I’m so glad you feel uplifted and encouraged. Can’t go wrong with a bit of blind contour – literally. 🙂